Image Credit: Getty image
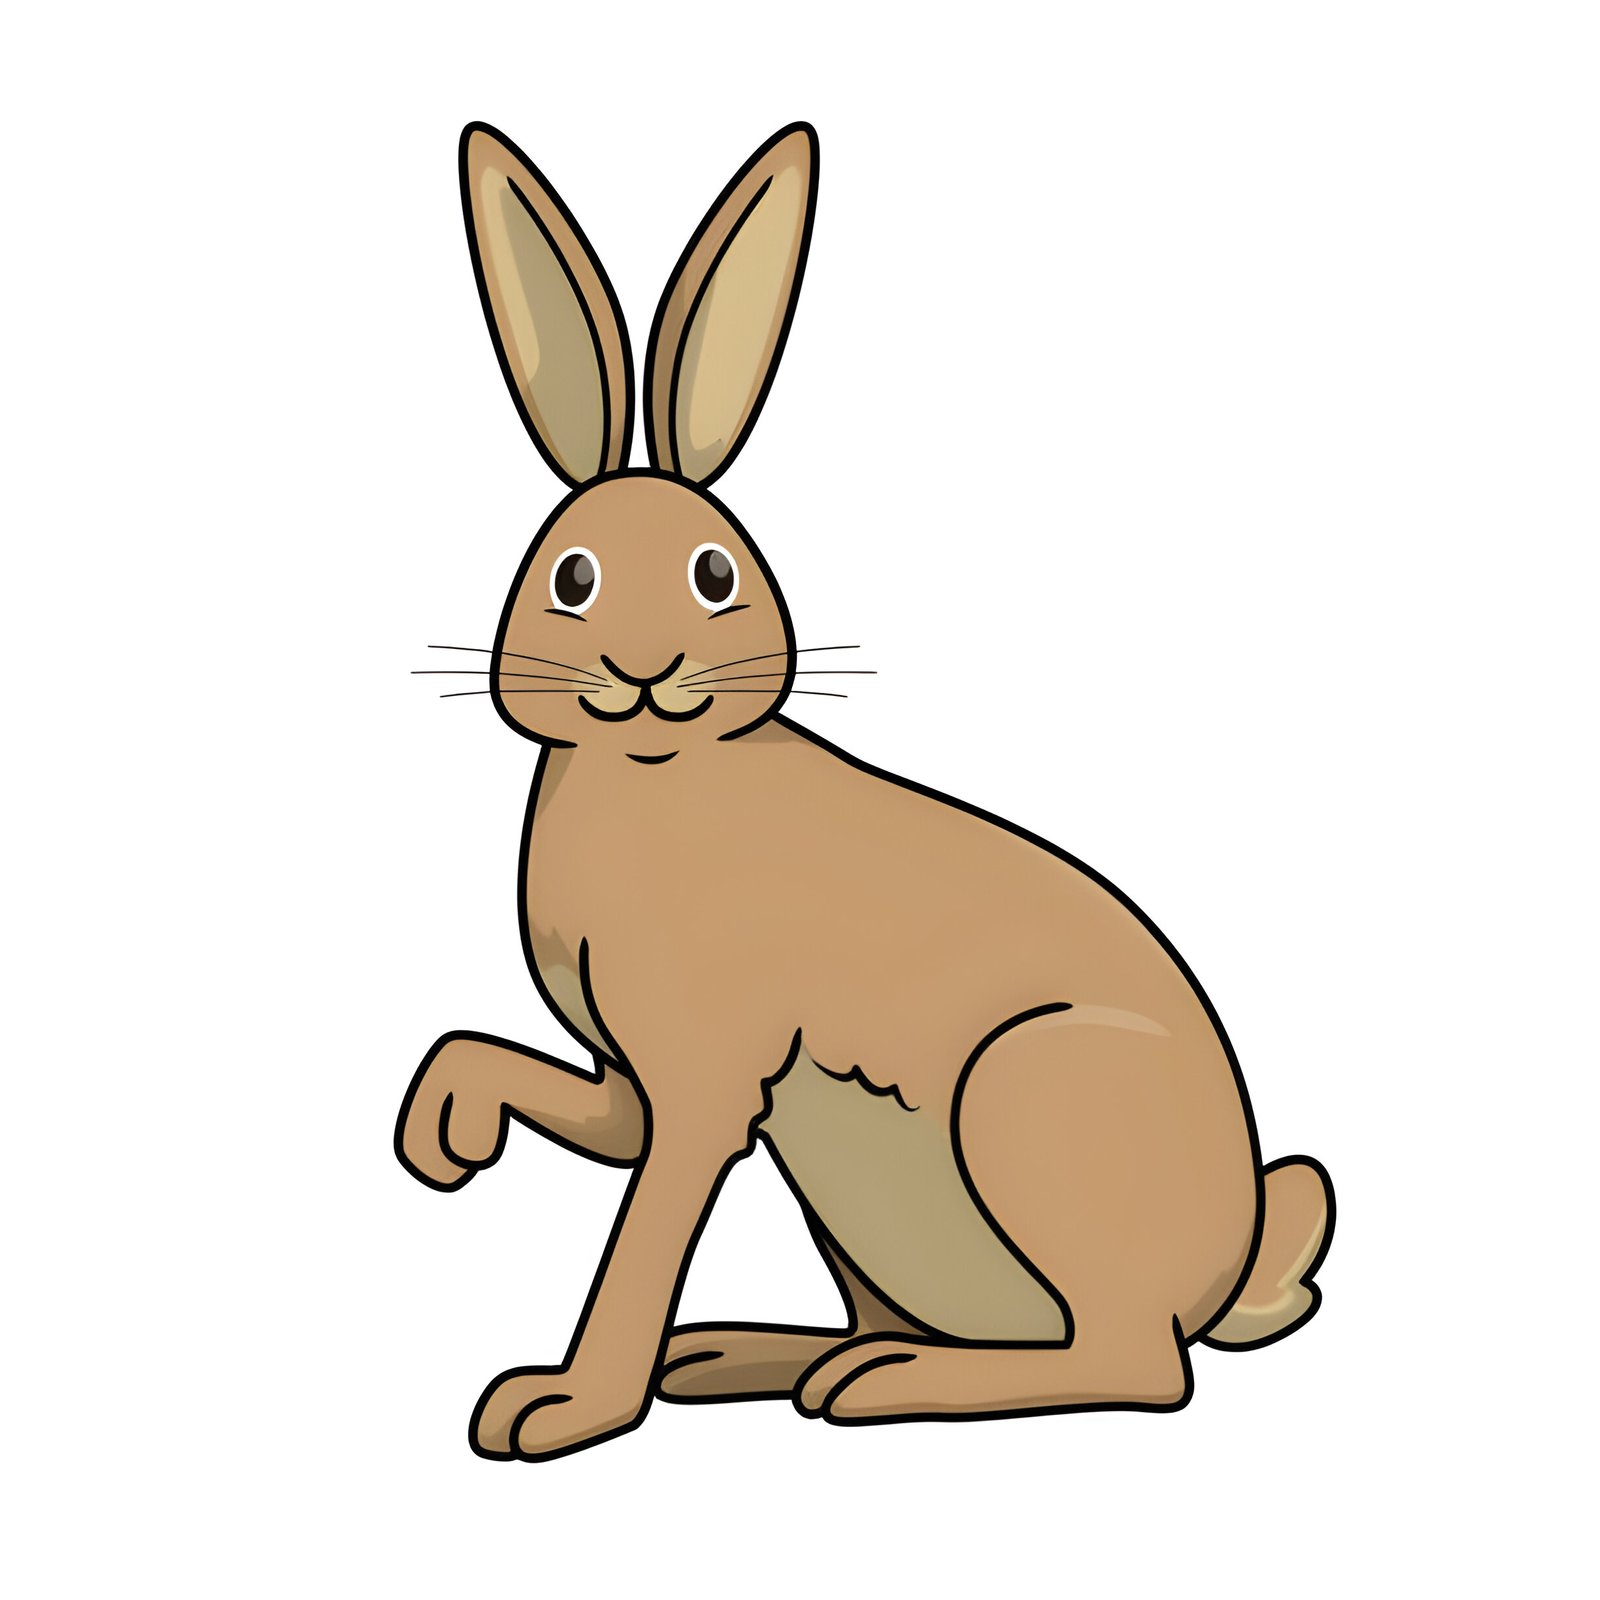
Embarking on the journey of drawing can be as delightful as discovering a hidden easter egg. A bunny drawing easy guide serves as an essential starting point for beginners eager to bring the charm and innocence of these beloved animals to their sketchbook or paper. Mastering the art of sketching rabbits, with their soft fur, gentle eyes, and distinctive ears, can add a beautiful bookmark in the chapter of an aspiring artist’s skills. The process of drawing bunnies is not only a creative expression but also a means to enhance one’s attention to detail, from the curve of the mouth to the shading around the nose.
This article is meticulously crafted to guide beginners step-by-step through the process of creating their own bunny characters, starting from simple shapes like circles for the body and ears, to more intricate details such as the eyes, nose, and mouth. It covers the essential materials required for bunny drawing, such as a pencil, eraser, and paper, along with additional tools that might enrich the drawing experience. Further, it includes practical tips and tricks to make drawing a cute bunny easier, such as how to achieve the perfect shading and proportion. By the end of this guide, readers will have all the knowledge needed to draw rabbits with confidence, making it an invaluable resource for anyone looking to celebrate Easter, create a personal bookmark, or simply enjoy the pleasure of drawing.
Materials Required for Bunny Drawing
Drawing Tools
To start drawing a bunny, one will need a pencil, preferably HB or 2B, which allows for lighter strokes that are easier to adjust if needed. High-quality paper is recommended to enhance the drawing experience, providing a smooth surface that better showcases the details of the artwork. Additionally, an eraser is crucial for correcting any mistakes. A kneaded eraser is particularly effective for making finer adjustments, as it can be shaped to precisely remove specific areas of graphite without disturbing the surrounding details.
Optional Coloring Materials
While not necessary for the basic sketch, colored pencils, markers, or watercolors can be used to bring the rabbit drawing to life with vibrant colors. These materials offer the artist the flexibility to experiment with different hues and shading techniques, adding depth and personality to the drawing.
Step-by-Step Instructions
Step 1: Drawing the Bunny’s Head
Begin by sketching an irregular circle for the head, making the bottom part slightly wider to accentuate the bunny’s cheeks. This creates a foundation for the face.
Step 2: Drawing the Bunny’s Face
Add details to the face by drawing large ears using upside-down “U” shapes, ensuring they are symmetrical and proportionate. Sketch two big circles for the eyes, placing a smaller circle inside each to highlight them. Draw a triangular nose at the center bottom of the face and add a small vertical line below it. Extend this line into a curvy “W” to form the mouth.
Step 3: Adding Bunny’s Body
Draw two curved lines beneath the head to outline the bunny’s arms. Extend these lines to sketch the body, making it chubby to enhance the bunny’s adorableness. Add a fluffy tail at the back by connecting multiple curved lines, resembling a cotton ball.
Step 4: Finishing Touches
Focus on the inner details of the ears by drawing a smaller outline within each ear. Add whiskers by sketching three lines on each cheek and draw the bunny’s distinctive teeth with straight lines from the mouth. Finally, ensure the eyes are gleaming by leaving the tiny inner circles unshaded.
Tips and Tricks for Drawing a Cute Bunny
Start with a Light Pencil
When beginning your bunny drawing, it’s advisable to use a light pencil, such as an H or HB. This allows for easy adjustments as mistakes can be corrected without leaving heavy marks. Later, the lines can be darkened for final touches.
Take Your Time
Drawing is a skill perfected over time. Patience is crucial, so take your time with each stroke. Not every rabbit needs to be perfect on the first try, and practice will lead to improvement.
Use Reference Photos
To achieve accurate proportions and details, use reference photos of rabbits. These can guide your sketch and help maintain realistic dimensions and features in your drawing.
Experiment with Styles
Feel free to explore different artistic styles. Whether you’re aiming for a whimsical cartoon rabbit or a hyper-realistic sketch, experimenting with various styles can enhance your artistic skills and keep the process enjoyable.
Add Accessories for Fun
Adding accessories like a bowtie, sunglasses, or a top hat can infuse personality into your bunny drawing. These small details can turn a simple sketch into a character with its own story.
Conclusion
Through this guide, beginners are equipped with the essential steps and tips needed to bring the charming essence of bunnies to life on paper. From the basic materials required to step-by-step instructions for drawing each key feature, we’ve journeyed through an enriching process that not only enhances drawing skills but also offers a joyful exploration into the art of sketching cute rabbits. Such artistic endeavors not only refine one’s ability to capture the endearing qualities of these creatures but also pave the way for personal creativity and expression in the vast realm of drawing.
The significance of mastering the simple yet captivating task of drawing a bunny extends beyond the sketchbook. It embodies the joy of learning, the patience required in the progression of skills, and the delightful results of perseverance. As aspiring artists continue to practice and experiment with their techniques, the possibilities for creativity are boundless. This guide, therefore, serves as a foundational step towards embracing the art of drawing, encouraging artists to explore further, deepen their understanding, and find their unique artistic voice through the sketches they create.
FAQs
Q: What are the steps to draw a bunny?
A: To draw a realistic bunny, begin by sketching two intersecting circles to form the basic shape of the head and body. Next, draw a curved line on the side of the top circle to outline the bunny’s nose. Place almond-shaped outlines above the head for the ears. Then, add details like the eyes and whiskers. Finally, create a “furry” texture by sketching over the outline of the bunny’s body.
Q: How can I draw a rabbit’s face?
A: To draw the face of a rabbit, start by outlining the head with a basic circle. Add details such as the eyes, nose, and mouth. Ears should be drawn elongated and upright, starting from the top of the head. Include whiskers by drawing thin lines from the nose outward. Shade and texture the face to give it a lifelike appearance.
Q: What is the method to draw multiple bunnies?
A: When drawing multiple bunnies, start by sketching individual circles for each bunny’s head and body, ensuring they vary slightly in size and position to create a natural look. Outline each bunny’s features such as ears, eyes, and nose. Add details and textures to each bunny separately, maintaining consistent proportions and styles across all figures.
Q: Can you explain how to draw a rabbit?
A: To draw a rabbit, begin with basic shapes: a large circle for the body and a smaller circle for the head. Connect these shapes with smooth lines to define the rabbit’s neck and back. Add elongated ears at the top of the head and facial features like eyes and a nose. Detail the body with fur texture and finalize with legs and a tail. Adjust the pose as desired to add dynamism to your drawing.












+ There are no comments
Add yours